
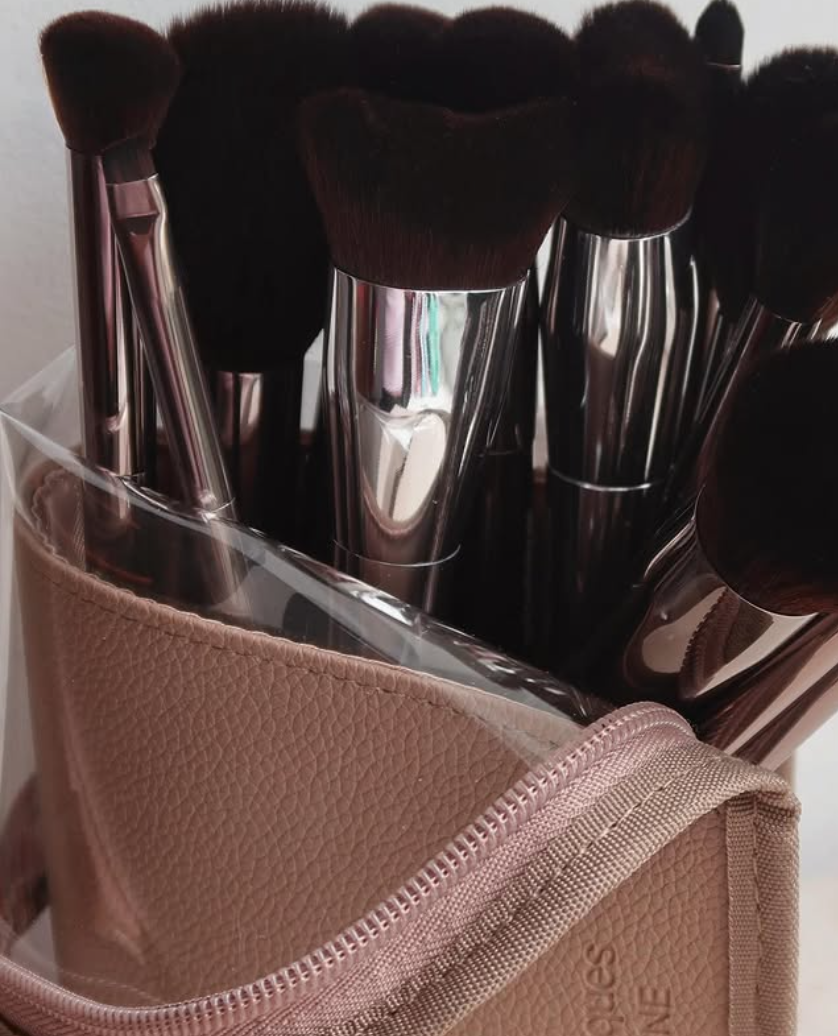
Achieving smooth, even foundation coverage doesn't have to take a lengthy beauty routine. While fingers and makeup sponges can both be useful, a foundation brush offers added precision and control, making it easier to build coverage exactly where you need it. When used properly, a brush can also help you create a polished finish without applying more foundation than necessary.
For anyone moving from an early workout to the office, running errands throughout the afternoon, or heading from work to dinner, foundation needs to do more than look good immediately after application. It should feel comfortable, blend naturally, and remain presentable as the day continues. With the right preparation and technique, you can achieve a flawless makeup application that keeps up with your schedule.
Here is how to apply liquid or cream foundation with a brush for smooth, even coverage.
Step 1: Begin With Clean, Prepared Skin
Even the best foundation technique can look uneven when the skin underneath has not been properly prepared. Begin with a clean face and apply a lightweight moisturizer suited to your skin type. Give your moisturizer, serum, and sunscreen a few minutes to absorb before moving on to makeup.
If you exercise in the morning, avoid applying foundation directly over sweat or skin that has only been wiped with a towel. Cleanse or rinse your face first, then allow your skin to cool and dry. Applying foundation while your face is still warm or damp can make the product separate or become uneven.
A hydrating or smoothing primer from Real Techniques can also help the brush glide over the skin rather than catching on dry areas. Concentrate primer around the nose, cheeks, forehead, or any other places where foundation commonly settles or fades.
During the daytime, sunscreen should remain an important part of your skincare routine. Apply it before your foundation and allow it to set instead of relying only on the protection included in a makeup product.
Step 2: Choose the Right Foundation Brush
Not every makeup brush is designed to provide the same type of coverage. For a smooth, full-coverage finish, consider using a flat-top kabuki brush or a dense buffing brush made with synthetic bristles.
Synthetic bristles generally work well with liquid and cream products because they do not soak up as much foundation as some natural-bristle brushes. Dense bristles can press and blend the product into the skin, helping you avoid the streaks that may appear when using a brush that is too loose or flexible.
Using high-quality, professional makeup brushes designed for complexion products can make blending easier and give you more control over the final result. A slightly angled brush can be especially useful around the nose, under the eyes, and along the jawline.
Keeping your brush clean is equally important. Product buildup can make the bristles stiff, interfere with blending, and affect the appearance of your foundation. Wash brushes regularly and make sure they are completely dry before using them again.
Step 3: Start With a Small Amount of Product
When it comes to foundation, a little really does go a long way. Starting with too much can make it harder to blend and may leave your makeup looking heavy or settling into lines as the day goes on.
Put a small amount on the back of your hand or on a makeup palette first. Then, lightly tap the brush into the foundation instead of coating all of the bristles. You can always add more, but it is much harder to take extra product away.
Start in the middle of your face, where most people tend to have the most redness or unevenness. Blend over the cheeks, nose, chin, and forehead, then work whatever is left on the brush outward toward your hairline and jaw.
This method creates more coverage where you are likely to need it while keeping the outer edges of your face light and natural.
Step 4: Stipple First and Buff Second
The way you move the brush can have a major effect on your coverage.
First, use gentle tapping or stippling motions to press the foundation onto the skin. This places the pigment where you want it without immediately spreading it too thin. Stippling can be particularly helpful over redness, visible pores, or areas where you would like additional coverage.
Once the product has been deposited, use small circular motions to buff the edges into the surrounding skin. Keep your movements controlled and use a light hand. Pressing too firmly can flatten the bristles, remove the coverage you just applied, and leave visible brush marks.
Spend a little more time blending around the nose, eyebrows, hairline, and jaw. These smaller areas are where unblended foundation is often easiest to notice.
Step 5: Build Coverage Only Where You Need It
Full coverage does not necessarily mean applying a thick layer across your entire face. After finishing your first layer, look closely at your skin and identify any areas where redness, blemishes, or discoloration are still visible.
Pick up a small amount of foundation with the end of your brush and tap it directly onto those specific areas. Blend around the edges without repeatedly brushing over the center. This allows you to build coverage while maintaining a more skin-like finish everywhere else.
For an active day, lighter layers are often more comfortable and easier to touch up than one heavy layer. They are also less likely to feel cakey after several hours of wear.
Step 6: Help Your Foundation Last
Once your foundation is blended, lightly set the areas that tend to become shiny or experience the most movement. This may include the forehead, sides of the nose, chin, or under-eye area.
You do not need to apply a heavy layer of powder across your entire face. A small amount pressed onto targeted areas can help maintain coverage while leaving the rest of your complexion looking fresh.
A setting spray can also help the layers of skincare, foundation, and powder appear more blended. Allow it to dry before getting dressed, placing a hat on your head, or pulling a fitted top over your face.
If you know you will be active later, carry blotting papers or a clean powder puff. Blot away moisture or oil before adding more product. Applying foundation or powder directly over sweat can create buildup and make the makeup appear patchy.
Step 7: Check Your Foundation in Natural Light
Bathroom and dressing-room lighting can sometimes hide uneven blending or make foundation appear different from how it looks outdoors. Before leaving, check your makeup near a window or in another source of natural light.
Pay special attention to your hairline, the sides of your face, and the area beneath your jaw. Use the small amount of product remaining on your brush to soften any visible edges and blend lightly down the upper part of your neck.
Avoid adding a large amount of foundation to the neck. The goal is to create a smooth transition rather than completely cover another area of skin.
Final Thoughts
Learning how to apply foundation with a brush can make your beauty routine feel faster, more controlled, and more reliable. The right brush allows you to place coverage where it is needed, blend it into a smooth finish, and avoid wasting unnecessary product.
For a foundation look that keeps up with a full schedule, focus on skin preparation, light layers, strategic setting, and simple touch-ups. With the right tools and a combination of stippling and buffing techniques, you can achieve a flawless makeup application that looks polished without feeling overly heavy—whether your day includes a workout, meetings, errands, travel, or an evening out.